The waiter calling and customer experience tracking tool.

First of all, switch on your tablet/waiter station at the begining of each day.
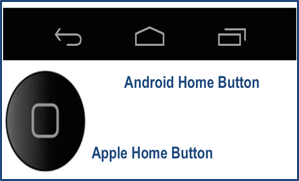
Click on the "home" button at the bottom of your tablet/waiter station.
Click on the waiter station app. Log in if required.
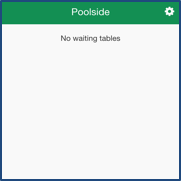
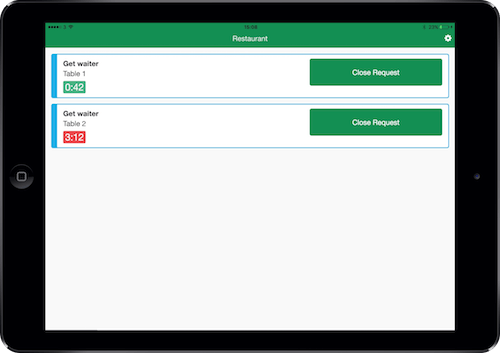
Your screen on the app should not show any waiter requests, if it does, check they are not current and close them down.
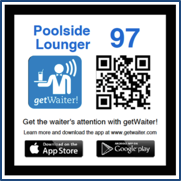
If your table codes are not permanent, display your table codes in the chosen area.
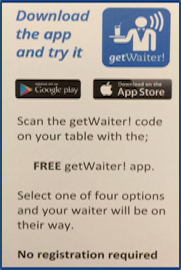
Inform the guests that they can call for your attention via the app, by scanning the nearest table code.
At the end of each day, collect your table codes if they are not permanent first, then, switch off your tablet/waiter station.
Important note: Please ensure that your waiter station is always switched on and plugged into the power socket during use otherwise your guests will not be able to call you.
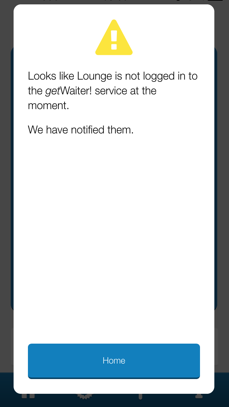
What happens if my guests see this on their devices?
This indicates that the waiter station for the area is not switched on and logged in. It is vital that the waiter station(s) are up and running before the guests start to use getWaiter!